I stumbled across this fun ruffly fabric at Hancock's today and thought, hmm...I see a scarf! I also realized it has been far too long since I wrote a tutorial...so here you go!
I did not note the brand/name/sku of this fabric. I've not noticed it before, but the only way I can describe it is ruffly. My store had it in the middle racks (where they put the 'new' fabric they are trying to sell). It was 9.99 a yard but I had a 40% off coupon and lo and behold there was exactly one yard left on the bolt. There was white, pink, blues and grays. Very pretty colors.
Anyhoo, take your one yard and lay it out unfolded.
Decide how wide you want your scarf. I chose around 8 inches wide. Cut lengthwise to make strips of 8 inches (or your desired length). I got 5 strips out of the yard.
Put the right sides together of the end pieces and serge or sew them. I used a zig zag stitch since its more 'giving' than a straight stitch. Since this is a ruffly, messy scarf, it's not necessary everything be perfectly lined up and "perfect".
Decide if you want your scarf to be two strips long or three. If you chose three, repeat previous step til you have three strips sewn together at the ends. Then, check that the fabric isn't twisted, and right sides together, sew up the remaining "open" ends. This completes the infinity scarf!!
Seriously, it was that easy. Took me maybe ten minutes including cutting time and vacuuming up the floor prior to laying the fabric out!
Here is the "long" scarf..with three strips. (and my little helper)
Here is one that is just two strips, for a snugger scarf.
And that's that. An easy, quick, fun spring scarf!!
ENJOY!
Don't fee like making yours?? Find mine, ready to ship from my shop SeauxComfy!
~~Amy
Feel free to pin this tutorial, giving me credit! :)
Heylo all! In case you've missed it, roughly 6 months ago I started learning how to crochet and knit. I am loving it. If I'd known I could craft while sitting on my butt watching Big Bang Theory, I'd have never learned to sew! (But then, I probably wouldn't have ever learned how to make fabric buttons, so I'm glad I did!)
But I digress, as usual....
Anyhoo, I participated in a fun Crochet a Long (CAL) where I ended up with a beautiful sunburst granny square afghan. I truly enjoyed it and now it's time to take my turn hosting!!
You need to be on ravelry to truly participate, so hop on over and join! It's free and a great place for patterns and showing off your work!
It will be a MONTHLY project that goes on ALL YEAR. Each month we will do a new dishcloth/towel/washcloth. Crochet AND knit patterns will be available, so you can do one, some, all or none!! If you do each month, in the end you'll have 12 handmade washcloths!!
Patterns will be posted and all I ask is you share your progress, pics and lessons learned in the Ravelry group!
Know those nifty socks you see for sale for kids that have the little non skid things so your toddler doesn't slip and bust his teeth as he's careening through the house? Well they're cute but something you CAN make yourself.
MATERIALS NEEDED: Puffy Fabric Paint (found at just about any big box store, craft store or online. I happened to have Tulip brand on hand) Toddler/Kids socks Work Surface
HOW TO:
Lay your socks so the bottom of the sock is flat on your work surface so you can easily draw with your puffy paint. (excuse my dirty socks, I just used existing socks!)
Then just dot and draw whatever you want on the bottom of your socks!
Let the paint dry 24 hours or so and that's it! Follow the instructions on the paint for washing and drying, but generally they suggest turning the item inside out when washing and drying.
Then let your child loose on a tile floor and let them run like crazy....with less slip ups!
Let me share an evil word in the handmade industry...
TAGGIES.
Boo, Hiss, MEOW! What are Taggies? Taggies is a company that makes tag blankets..you know those blankets our grandma's made? Well, they copyrighted it, as of course they have every right to do so. I most certainly do not begrudge anyone their right to the almighty dollar and I am a big fan of capitalism. But the copyrights these owners have on Taggies is INSANE. They want to copyright EVERY blanket with four sides and looped ribbons. They even want to copyright pretty much any fabric with looped ribbons inside. I have had EVERY ITEM I made with looped ribbons pulled off Etsy, Artfire, and other venues because of the lawyers for the Taggie company. Do they have the right to do so, Sure. Do I have to like it? NOPE.
So here you go my friends, since they say I can't sell any blankets with tags in them (which by the way Mrs. Taggies, you should probably call up WAL-MART because they sell tag blankets too. Oh wait, you only go after small time moms at home.) Anyways, since I can't sell mine...I'll share with you how to MAKE your own.
MATERIALS:
Two fabrics (I used Flannel and Minky)
Ribbons to coordinate or contrast your fabrics
Scissors
Cutting Mat or Surface
Thread
Lighter/Flame/Candle
Step One:
Choose the size of your blanket. You may want a large blanket or just a small lovey. Whatever size you choose, put your fabrics right sides together and cut them the SAME size/shape.
Step Two:
Gather your ribbons. The type is up to you, grosgrain, satin, solids,etc.
Step Three:
Cut your ribbons to approximately 4-5 inches long.
Step Four:
I like to then lay out my ribbons to see where I want to place them along the edges of the blanket. Rearrange them to your liking.
Step Five:
Now take your ribbon and FOLD it (not making a hard crease, just a gentle fold) with the pattern on the OUTSIDE where it's visible.
Step Six:
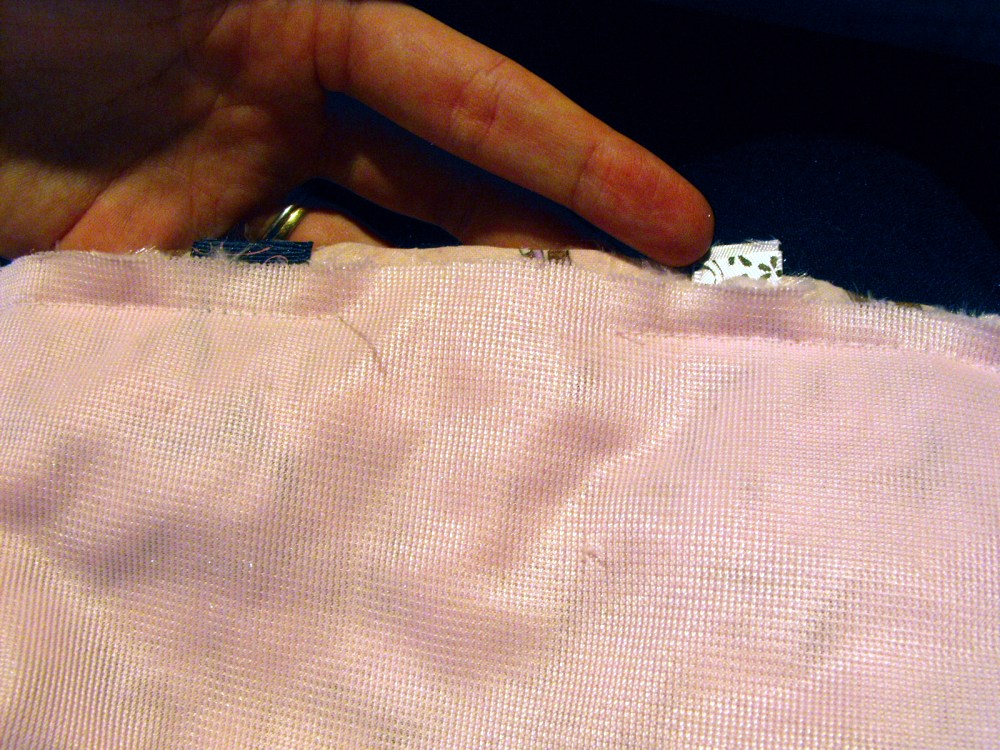
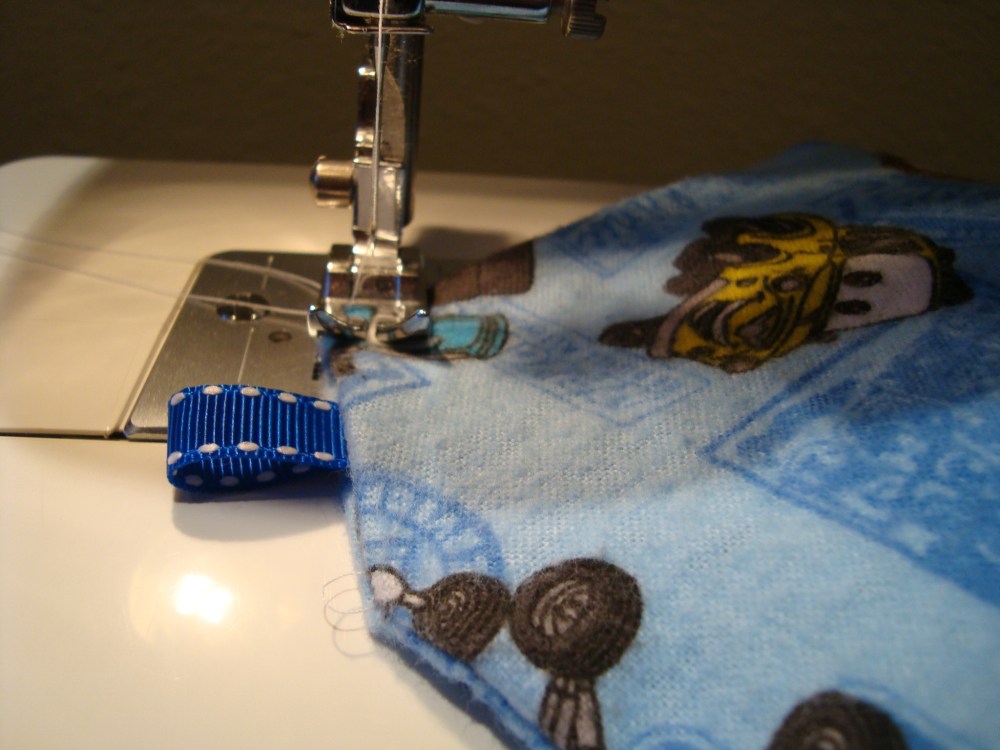
Now take the RAW EDGE of your ribbon and insert your ribbon (Still folded) in between the fabric while it's right sides together.
Now your raw edge of the ribbon and the raw edge of the fabrics LINE UP. Pin to keep it straight.
Step Seven:
Now continue this all the way around the edges of the blanket, using the pattern you wanted for the ribbon placement.
Step Eight:
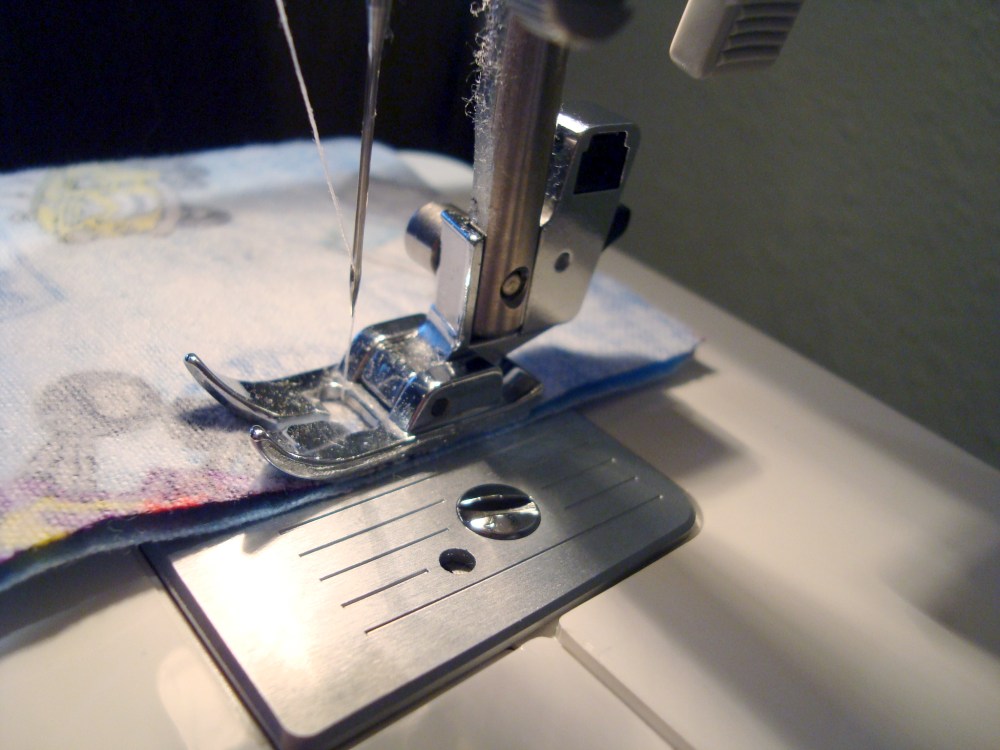
Now head to your sewing machine! You will choose a starting point on your blanket, and remember that you are TURNING and TOP STITCHING this blanket, so you'll be leaving an opening large enough to turn the fabrics right side out. Where you start/finish your opening is up to you.
I prefer a walking foot because I am using minky. But you can use a regular foot, particularly if you are using cottons/flannels, etc. If using stretchy fabrics you should use a ballpoint or Microtex needle.
Step Nine:
Sew along the edge of the blanket in a straight stitch, turning when you get to the corner. You should stop roughly 2 inches from your starting point so you have room to turn the blanket.
Step Ten:
Now you'll need to turn your blanket right side out.
Step Eleven:
Once your blanket is turned right side out, gently tug on all your ribbons to assure they are secure. This also helps gently pull the seams straight. You can iron your blanket at this point, although I did not iron this blanket because you should NOT iron minky.
Once your blanket is smooth, head back to the sewing machine to sew your top stitching.
Step Twelve:
Continue straight stitching (or zigzag, or even decorative stitch if you wish) all the way around the edge of the blanket, making sure you go over the opening you turned your blanket in. If you used a walking foot, you'll need to use a regular foot to backstitch your seams because you should not backstitch with a walking foot.
VIOLA! You have a beautiful taggy blanket!
Step Thirteen:
Now for the clincher....The Taggies company will hunt you down if you SELL a blanket like this. BUT last I checked, their patent does NOT cover if the ribbons are not looped. And quite honestly for my own protection, I'd prefer not to sell a blanket with looped ribbons anyway due to the risk of babies fingers getting stuck in them.
So what to do, what to do? EASY. CUT the loop on the ribbon and HEAT SEAL the edges!!
There you go! Now you have a cool sensory tag blanket and you did not break their patent! Naturally, before you make the blanket if you plan on cutting and heat sealing, you can do that before you make the blanket, but I was showing you both options.
Feel free to ask any questions and share this tutorial, but please give me a link back! :) Check out my other tutorials in the left hand side bar!
It's time to move my bath salts tutorial to this blog since my soap shop will be on an extended hiatus until I can catch up with life, kids, and shops :)
My Bath Salts Tutorial has been fairly popular though, so I want it to still be available to you all! Please let me know if this link does not work in any way.
I hope you're enjoying my little tutorials! I'm no tutorial expert, but my main goal is to make the handmade life easier for everyone! If I can create, anyone can!!
This tutorial is for my Beau Beau Bags, also called Boo Boo Bags, Rice Packs, rIce packs, ouch pouches and a gazillion other names. Basically it's a bag you use on ouches. This is for your traditional square rice pack, you can make them in a variety of shapes and sizes. Larger ones can be made for headaches of menstrual cramps.
Materials Needed:
*Fabric, you're cutting a square of your choice size, so you want at least a fat quarter to get a typical size bag, your choice flannel or fabric, even terry cloth or minky might be nice.
*Rotary Cutter or Scissors
*YardStick or Cutting Guide
*Sewing machine, Thread, needle, usual machine stuff
*Ribbon (optional)
STEP ONE:
Iron and lay out your fabric on your cutting surface. I chose this nifty Cars flannel I had around the house. Depending on the size of your fabric is how many bags you will get out of the fabric. One yard can make quite a bit of bags.
STEP TWO:
Cut your fabric to a 5x5 inch square (with fabric RIGHT SIDES TOGETHER). This step is customizable to your needs.
If you cut this on the fold you'll only need to sew 3 sides of the bag :)
STEP THREE:
Sew ALMOST all the way around the bag. Because you're going to have to turn this bag right side out, you'll be stopping about 1-2 inches from your original starting point. You'll be turning in a corner, so you can start about an inch from one corner, making sure you leave that corner open for turning.
STEP FOUR:
Once you've stitched almost all the way around, you can clip close to your seams--NOT THROUGH the stitching then turn the bag right sides out.
STEP FIVE:
Now you have a right sides out bag! Use a pencil or scissors to poke out the corners (except your open one LOL) and press if you'd like. (Flannel usually doesn't have as many wrinkles if you used that).
STEP SIX:
Now it's time to fill your bag! I usually use rice because it's the least expensive option but you can use flaxseed, dry cherry pits or even deer corn---DEER CORN not popcorn. Although if you use popcorn, I'd sure love to see the pics of exploding popcorn inside your bag...
I use a cup and a siphon to put the rice in the open corner hole.
STEP SEVEN:
Fill your bag approx. 3/4ths of the way full (or to your desired fullness) and tuck your open corner in nice and neat.
STEP EIGHT:
Cut a small ribbon or piece of fabric if you wish, fold it over and tuck it in your open corner. Stitch (straight or zigzag) the opening closed, making sure to back stitch. I stitch the opening at least twice to make sure it's secure.
STEP NINE:
Admire your handiwork! We like to store our bags in the freezer for beau beaus but you can also microwave the bag for 15-30 seconds at a time for a hot pack. USE CAUTION when handling the hot bag!
Now, why do I call it a Beau Beau bag instead of a boo boo? Because down south where I live, my family always said beau beau (pronounced like the actor Beau Bridges) instead of boo boo. I don't know anyone who says boo boo around here! Not that it's wrong if you do, that's just my story of why I call it what I do! :)
Enjoy your bags, whatever you call them, and feel free to share this tutorial!
In keeping with my for the Impatient Craftaholic series...allow me to introduce "The Easy Pillowcase".
This tutorial is what happens when you bring your children to the fabric store with you just to get ONE THING (I swear!) and they find fabric they like. Sigh. It's hereditary.
Materials:
1 yard of your chosen fabric (we chose Spiderman..natch.)
Thread
Serger and thread (if you have it, if not, its ok)
Scissors and the usual sewing odds and ends.
Sewing Machine (unless you love hand sewing..which if that is the case you probably aren't needing this series of impatient crafting...)
Set your coffee to brew...this project is pretty darn fast.
Step One: Measurements, Schmeasurements.
I just grabbed a pillow from the house and used it as my measurement. Because this print is a directional print, I had to fold it raw edge to raw edge. In the end I ended up with a piece of fabric, folded, right sides together that measured about 33x18 or so. Your final measurements will vary based on your pillow size.
Step Two: The Almighty Serger
Now don't fret if you don't have a serger. If you DO, head on over to it with your fabric still in its nice little 33x18 inch or so fold. Since there is already a fold, you don't have to stitch that side of the pillowcase. So serge down the shorter side first (looking at the above picture, its the right hand side first). Then the longer "raw edge" side. This leaves you an unfinished pillowcase!!
Step Two: If you don't have a serger:
You can still sew down the same sides as the serger in the step above with your sewing machine. Because it is a pillowcase, it really doesn't matter if you have a raw edge inside the pillowcase---at least in my world it's okay. Just stitch with your machine in a straight stitch as I said in the serged instructions. If you really feel the need, use pinking shears to 'pink' the edges along the stitches for security.
Step Three: Hemming It up
After the inside of your pillowcase is done, move on to your hem. Keep the case with wrong sides out, and fold down a small hem. How big your hem is, really depends on the size of your pillow and how much extra fabric you want hanging off your pillow.
Use your iron to press your first hem.
Step Four:
Fold down again until you find a hem you're comfortable with. Nope my lines aren't totally straight. Ahem, Impatient Craftaholic....
Step Five: Head back to your regular sewing machine
Now at your regular sewing machine, just stitch your hem! Sew one line close to the folded edge, then if you'd like, sew another line on the outer edge.
Now fold your pillowcase right side out and viola...a nifty spider man pillowcase!! (Yes I know, I need a picture of the finished pillowcase...but the kid is sleeping on it right now..)
And if you keep some fabric left over, you can make a nifty SpiderMan shirt for your little one :)
***Enjoy and happy sewing! Let me know if you have any questions! Stay Tuned for the Next Installment of the Impatient Craftaholic!