Showing posts with label sewing how to. Show all posts

Sunday, July 18, 2010

Serged Cloth Wipes--Impatient Craftaholic Series

Hi guys! Tutorial Time! This one is for those with a serger or who have access to a serger. Chances are many of you already know how to do this, but this is a great newbie tutorial! :)

Materials Needed:

Serger (or sewing machine with overcasting stitch--not QUITE the same but close.)
Threads, needles, scissors (usual sewing stuff!)
Flannel (Terry Cloth and Sherpa are other good wipe fabrics)
Fray Check
Rotary Cutter or Large Scissors
Yardstick/Ruler


Step One:
Gather Materials. Choose the size of your cloth wipe. I used a flannel I had previously cut for Beau Beau bags so the fabric was already cut to a certain point. I cut this fabric 6 inches tall and 14 inches wide. If you are using a directional print, be careful in your cutting. Remember, measure TWICE, cut ONCE! This fabric is folded RIGHT SIDES TOGETHER in my pics, but in reality you can cut it WRONG SIDES together because you're going to serge it. This tutorial is for a two ply wipe. If you'd prefer a one ply wipe, just serge one layer of fabric at a time.


The size wipes you end up with will vary based on your choice in cutting size.
Because I had a long strip 6x14, I cut the fabric at the 7 inch mark to make two wipes.


Step Two:
We're making two ply wipes here, so take your fabrics and put them right sides facing out if you didn't cut them that way. (Sorry I'm an impatient crafter so I took pics without thinking ahead!)


Step Three:
Now head over to your serger! If you do NOT have a serger, but have a sewing machine with an overcasting stitch, you can use that. It's not quite the same, but it does work some. So mosey on over to your serger with your little square with wrong sides together.

Serge down any side you choose first, if you are doing multiple wipes at once, you can serge down the side of many at a time in a chain.


Generally once I do a bunch on one side, then I start on another side.
Step Four:
So just continue on and serge all four sides until your wipe is complete!! Add some Fray Check on the corners to help them from fraying in the wash.


And now you're done!! Use your wipes for cloth diapering, kids hankerchief's, cleaning and more!

~~Amy


Thursday, July 15, 2010

Covered Button Badge Reel How To--The Impatient Craftaholic Series

Enjoy!! Part Four of the Impatient Craftaholic Series. Fabric Covered Button Badge Reels! Easy peasy! Don't feel like making them? Buy them from my Etsy Shop! :)

Find great blanks for your own badge reels at: http://www.eidbadges.com/badge-reels.htm


Monday, July 12, 2010

Beau Beau (rice therapy bag) Tutorial-- Impatient Craftaholic Series

I hope you're enjoying my little tutorials! I'm no tutorial expert, but my main goal is to make the handmade life easier for everyone! If I can create, anyone can!!

This tutorial is for my Beau Beau Bags, also called Boo Boo Bags, Rice Packs, rIce packs, ouch pouches and a gazillion other names. Basically it's a bag you use on ouches. This is for your traditional square rice pack, you can make them in a variety of shapes and sizes. Larger ones can be made for headaches of menstrual cramps.

Materials Needed:
*Fabric, you're cutting a square of your choice size, so you want at least a fat quarter to get a typical size bag, your choice flannel or fabric, even terry cloth or minky might be nice.
*Rotary Cutter or Scissors
*YardStick or Cutting Guide
*Sewing machine, Thread, needle, usual machine stuff
*Ribbon (optional)

STEP ONE:
Iron and lay out your fabric on your cutting surface. I chose this nifty Cars flannel I had around the house. Depending on the size of your fabric is how many bags you will get out of the fabric. One yard can make quite a bit of bags.


STEP TWO:
Cut your fabric to a 5x5 inch square (with fabric RIGHT SIDES TOGETHER). This step is customizable to your needs.


If you cut this on the fold you'll only need to sew 3 sides of the bag :)

STEP THREE:
Sew ALMOST all the way around the bag. Because you're going to have to turn this bag right side out, you'll be stopping about 1-2 inches from your original starting point. You'll be turning in a corner, so you can start about an inch from one corner, making sure you leave that corner open for turning.


STEP FOUR:
Once you've stitched almost all the way around, you can clip close to your seams--NOT THROUGH the stitching then turn the bag right sides out.

STEP FIVE:
Now you have a right sides out bag! Use a pencil or scissors to poke out the corners (except your open one LOL) and press if you'd like. (Flannel usually doesn't have as many wrinkles if you used that). 


STEP SIX:
Now it's time to fill your bag! I usually use rice because it's the least expensive option but you can use flaxseed, dry cherry pits or even deer corn---DEER CORN not popcorn. Although if you use popcorn, I'd sure love to see the pics of exploding popcorn inside your bag...

I use a cup and a siphon to put the rice in the open corner hole.


STEP SEVEN:
Fill your bag approx. 3/4ths of the way full (or to your desired fullness) and tuck your open corner in nice and neat.

STEP EIGHT:
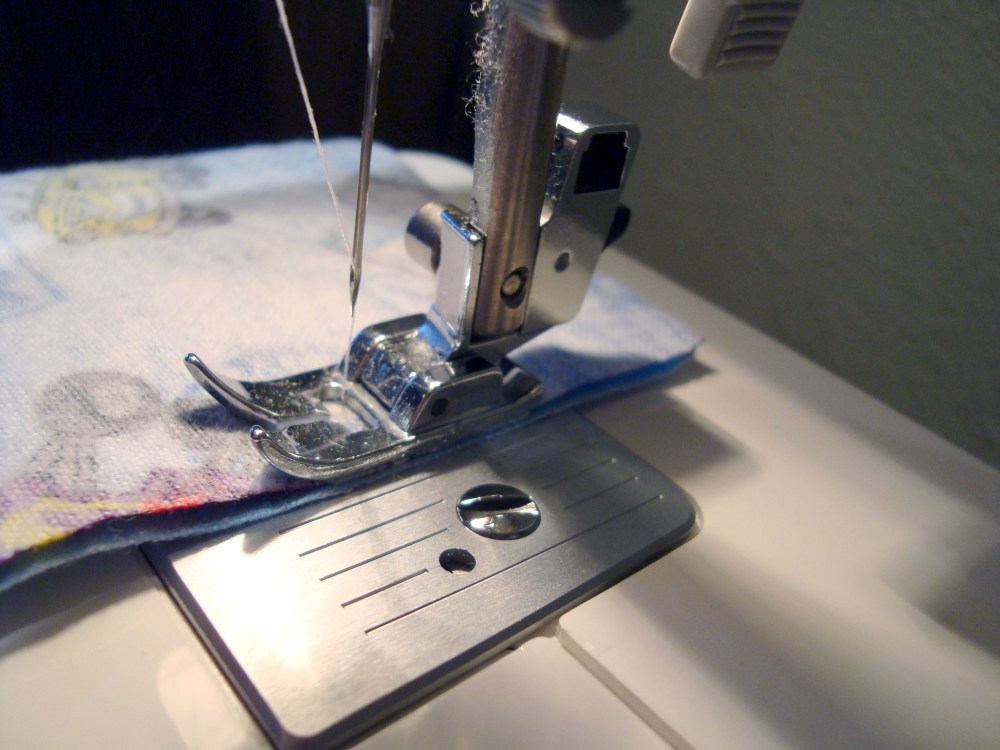
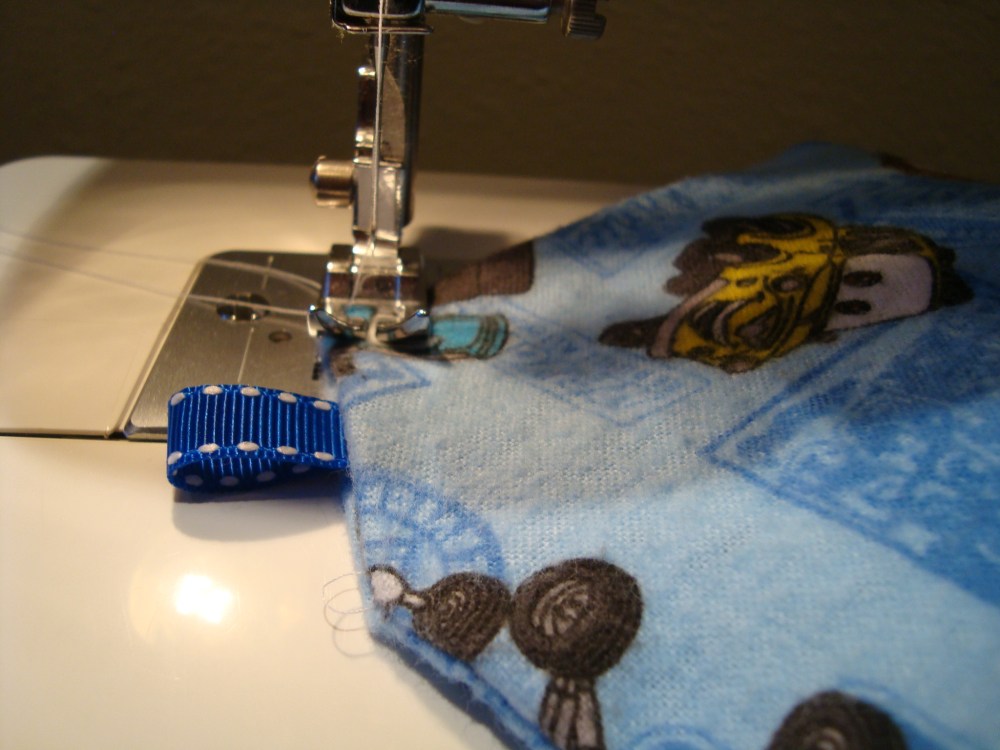
Cut a small ribbon or piece of fabric if you wish, fold it over and tuck it in your open corner. Stitch (straight or zigzag) the opening closed, making sure to back stitch. I stitch the opening at least twice to make sure it's secure.

STEP NINE:
Admire your handiwork! We like to store our bags in the freezer for beau beaus but you can also microwave the bag for 15-30 seconds at a time for a hot pack. USE CAUTION when handling the hot bag!


Now, why do I call it a Beau Beau bag instead of a boo boo? Because down south where I live, my family always said beau beau (pronounced like the actor Beau Bridges) instead of boo boo. I don't know anyone who says boo boo around here! Not that it's wrong if you do, that's just my story of why I call it what I do! :)

Enjoy your bags, whatever you call them, and feel free to share this tutorial!

~~Amy


Pin It


Tuesday, June 29, 2010

Easy No Sew Fabric Wreath Tutorial-- Impatient Craftaholic Series

Ahhh, fabric...it's beautiful isn't it? But sometimes you don't WANT to sew but you want to get your hands on that pretty fabric. Or you need a quickie project? Well, here you go!

I shall teach you how to create a nifty NO SEW fabric wreath. No ironing either (unless you're just a slob with fabric and well, then...you deserve to have to iron for that fabric abuse.).


Seriously, SUPER EASY wreath that looks like you spent a fortune.


To help those with slower internet, I've uploaded this tutorial with more details on Flickr. Let me know if there are any questions!

The best part about this fabric wreath? If you really want to save some dough, you can actually pull out each of the pieces of fabric and ribbon and replace them with new fabric for each occasion!

Check out the FLICKR TUTORIAL HERE.

A Tip to make the wreath Permanent from my friend Sharon: Use fabric glue on the tip of the fabric as you shove it in and it will permanently stick :)

My Who Dat Saints Wreath:


My July Fourth Wreath, a different way to do it:

You can even use this method on those nifty styrofoam balls!


Enjoy!!! I'd love to see your wreaths!


LinkWithin

Related Posts with Thumbnails