Showing posts with label DIY. Show all posts

Friday, February 6, 2015

What I Made--January 2015


Not a hugely productive month for finishing projects, but I'm working several! I have several projects done that I still need to photograph but they're newborn hats, so I'll just shoot them all together one day.


I finally finished up the Crochet Mood Blanket 2014!


I worked up some amingrumi samples for our Hogwarts class at the homeschool co-op so the kids can pick their animal for the semester!


I look forward to sharing the stack of newborn hats and a few more projects for February!
~~Happy Creating, Amy

Friday, January 2, 2015

What I Made--December 2014


December was a busy creating month! Early on in the month I sprained my ankle pretty severely and was left to do little else than rest it. I spent much of my recovery crocheting and knitting. Here is some of what I accomplished :)


Finally finished a cowl for my beautiful friend Jessa after a YEAR! Now to get it to her.


I didn't snap a finished pic of this but I made a hooded cowl for a friend who moved away in 2014. Hopefully it keeps her warm and bright!


Made my son a Stampy hat. If your kid likes Minecraft or Terraria you probably know who Stampy is. It was my first real attempt at duplicate knitting. Not something I'll do often!

Made this TARDIS beanie for a sweet girl who shaved her head for her sister who passed away. 

I've got a few more things on the hooks and needles and I'm still finishing up the Crochet Mood Blanket 2014...it won't be done for a bit as I need to edge it still and it's slow going!

What did you make in December?
~~Amy

Sunday, November 23, 2014

What I Made--November 2014

Here's a little bit of what I created in November!!

 Ashby Scarf. Pattern from The Velvet Acorn 


 The Failynn Fox Hood by Velvet Acorn Deisngs


 I made up this poncho pattern and will write up pattern soon!

The Woodlynn Wolf Cowl by Velvet Acorn Designs

What have you made this month?

Sunday, August 10, 2014

What's I've Made Lately...

It's been awhile since I posted anything I've created, but that doesn't mean I haven't! I am no longer running Etsy shops but I am still creating! Almost daily! I do indeed, knit and crochet so I don't kill people.

 David Tennant Amigurumi. Yes, I made myself a Doctor.

 This sweet cat had been in my Ravelry queue for quite a while. I finally did it with this awesome new yarn from Hobby Lobby.

I made this My Little Pony Doctor Whooves for a special guy in the community. This pattern is amazing and wonderfully written.


 I knit up some coffee up cozies to keep in the car. I'm partial to this purple one, inspired by Alice in Wonderland.

 A lot of friends are having itty bitty babies, so I worked up some cute knit hats for them :) I love knitting baby hats. Quick, easy and satisfying! Plus the pictures when they have the babies to put them in are great! :)

Made this one for my best friend's daughter. I don't get to knit for girls, so I make up for it with her!

I've got other hats done, and of course many projects in progress....I can't seem to have less than 10 projects going at once!

What are you creating?
~~Amy

Monday, September 23, 2013

Learning to Knit!!

I've been crocheting (hooking) for a couple of years now, and I originally wanted to learn to knit. My lovely friend Merry, did help me knit one hat over a year ago and I just never picked it back up to practice. I decided I wanted to conquer my fear and learn to knit!

It's going slowly but it's going! I've done several knit hats and it got a lot easier once I figured out continental style. It was MUCH easier for me as a hooker to hold the yarn in the left hand! Phew!


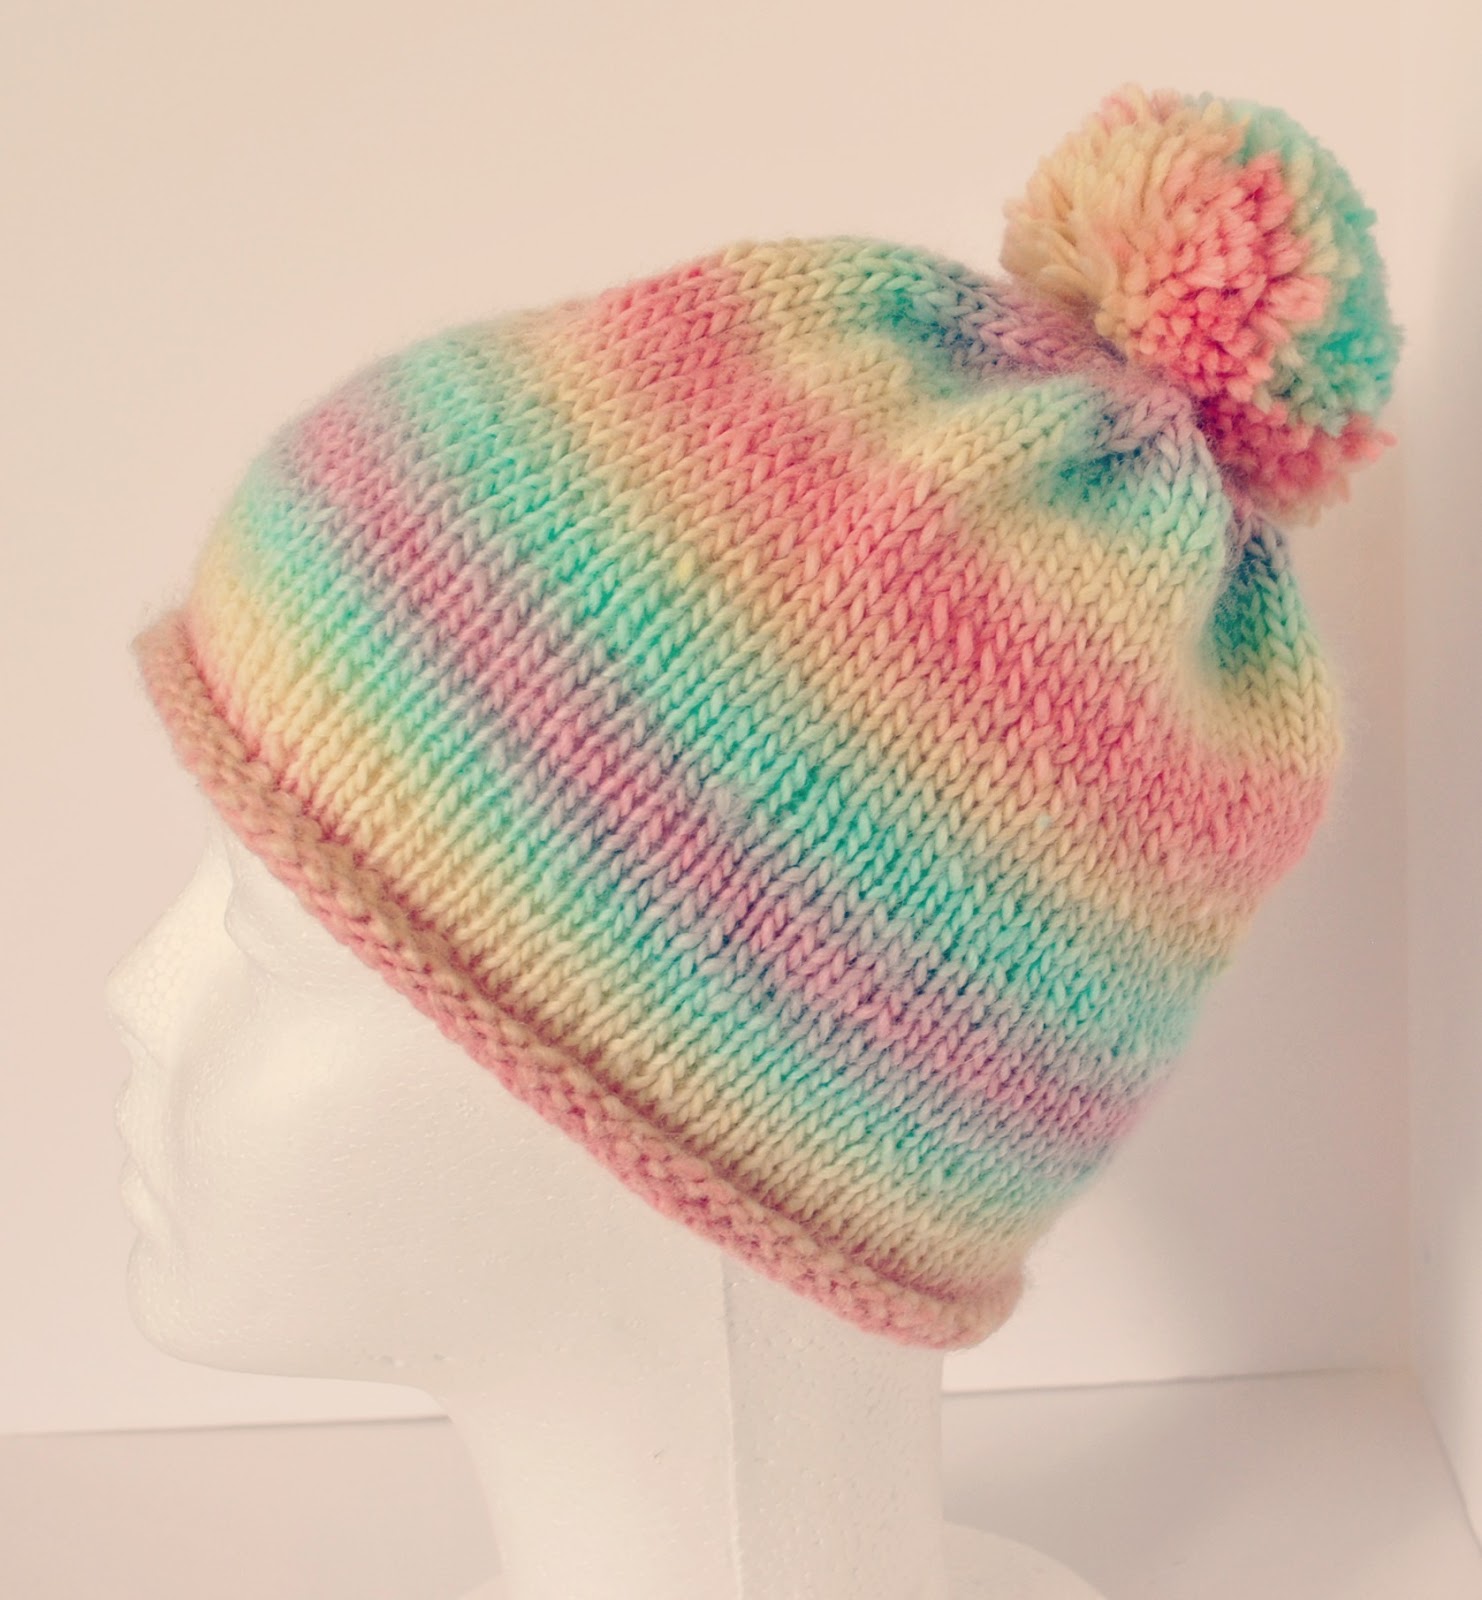
I've made the boys hats, and am working on more now. My purl has a long way to go but I'm loving this simple rolled brim hat.

Long live yarn!
~~amy

Tuesday, June 11, 2013

Pinterest Inspiration: Rain Gutter Shelves

I had seen the awesome rain gutter shelves on Pinterest for awhile now. There are several great tutorials including this fun one:
http://www.fairlyfabulousblog.com/2012/01/rain-gutter-book-shelf-tutorial.html

The only thing I did different was I had Home Depot cut the gutters for me. At first they were hesitant until they realized I meant the vinyl gutters, not the metal ones. The gutters come in ten foot sections, so I had them cut them in half since I was using a fairly large wall space (where a bookshelf had formerly stood).

I had to run BACK to home depot to get the brackets because I didn't remember to get them the first time, I am the most un-handy person ever, despite my crafty skills, so I wasn't thinking of how to actually get the gutters ON the wall. Hey, I can only be so many shades of perfect at once...

This is also a two person job because one person needs to find level and hold the gutters while another screws the brackets in. Maybe you can do it alone...I'm not that awesome.

Anyhoo, we got it going, and thankfully the gutters slide while the brackets are up because I didn't factor in our hall door when I put them up, so we slid the gutters down a tad so the door would open fully. Again..not a handy lady...

But it's DONE! It frees up floor space, and is very visually open. The books are facing out so children can see choices, and it's much easier to change up the book selection for seasons, themes, etc. My kids still don't read as much as I'd like them to, but this encourages them to just grab a book whenever. I'd like to make a cozy spot on the floor that folds up so they can just grab a book and settle down.


I have one more gutter and I'd like to put it in the boys room to hold books for nighttime reading, but haven't decided if that's what I want to do. I think they'd also be great cut into smaller pieces for bathroom storage, craft room storage, garage storage and more!


I still have to say, Pinterest makes my life so much easier!!
~~amy

Monday, December 31, 2012

DIY Winter Decor

I've been dressing it up for winter!

I found this awesome vase at Target today on clearance. I'd been stalking it for awhile...there it was...in a random spot, for 2.98!! I saw something similar on Pinterest, and decided to give it a go!

It was easy too! Just whip up some yarn pom-poms', jab some branches in them and stick in the vase. Want to know a secret to getting the branches to stay where you want? Fill the vase with rice! That's it...easy winter decor! I can see changing this up for all the seasons!


I love this little area of my house...it's the top of my entertainment center, on one side and I love my little wintry pink yarny goodness section!! I love the vase because it looks like a cabled knit pattern! I've decorated for winter and it's so fun, since we don't do Christmas, it's nice to get to decorate for a whole season!

Here's a bit more winter fun I put up around the house:

 We made melted snowmen to munch on!

 Added pom poms to another Target clearance find!

 I crocheted the runner and it looks perfect under the candlestick plate my sister made for me. 

 Close up of the plate. Isn't it lovely? Another clearance find!

 Cheapy .50 snowman hanging from our ceiling fan.

 Some fun yarn pom poms and snowflakes hanging on our blinds.

and some pretty roses I bought to pretty up the kitchen. I love winter, but it is a bit drab, so some pretty pink flowers will always help!!

Now to get this house CLEAN....Hah.

~~amy

Friday, June 22, 2012

Crochet, Colors, Humor and Fun...

I'm a secret blog reader. I don't have time to read a ton, but when I do, these are the ones I choose. They're a mix of all that makes life, well life.

Here are some blogs I LOVE that inspire me and make me smile. (or cry sometimes.)

Attic 24. Lovely blog of crochet, color and life in the UK. She has great, easy to follow patterns also in my fave style..the granny.

Crocheting With Raymond. Again fun colors, a cute cat, and awesome patterns.


The Bloggess. Seriously, she had me Beyonce' the chicken. Do not read her blog or book if you are in a social situation where it is inappropriate to laugh out loud.


This is Not That Blog. Funny-ness in Cartoon form.

Diary of a Mad Woman. Raw, Serious, Funny, Sad, Joy....this local woman is my hero.

Kevin and Amanda. I want to hate them, I do. They're so cute. And crafty, and pretty. But I can't, I just can't.

YoungHouseLove. Another couple I want to hate. But I can't. I take solace in these 'perfect' bloggers that they aren't perfect and are merely showing us the side of life that hides the boogers wiped on walls by your small people.

Smashed Peas and Carrots. A lovely mama who I have had the pleasure of "meeting" online and her blog is one that makes me happy and want to find joy in parenting. And Congrats Maggie on the new carrot!! :)

Yarn Harlot. Funny, yarnie humor. And I still like her even though she's not a hooker.

Stark.Raving.Mad.Mommy. She makes being a mom of a special needs child fun and awesome.

The Peaceful Mom. Proof you do NOT need to be a gazillionaire to make it work.

There are many more I like and I wish I got to read all these all the time but I don't. I skim when I can, catch up when I can, but I can always go there for inspiration, a laugh or smile.

What do you read when you are in need of inspiration? Or need a laugh??

Wednesday, August 3, 2011

Summer Fun--Rad Rainbow Rice

School is literally  just around the corner, but I thought I'd make my boys some rainbow rice I've been seeing all over Pinterest. Not that I'm new to rice therapy bins, sensory boxes, or whatever you want to call them. I used them as a preschool teacher and with my second child as part of his autism therapy.

But I'd never bothered to color it. (So I was lazy, yeah.)
You can find more tutorials on the net but basically, I did this:

Put parchment paper or aluminum foil on cookie sheets and set the oven to 175 degrees.

Take rubbing alcohol or vinegar and put 1-2 tablespoons of it with desired amount of food coloring in a glass jar. (I used mason jars). Pour 1.5-2.5 cups of white uncooked rice in the jar. (how much you add depends on size of your jar). Shake vigorously. This is a great activity for kids, just take care with the jar....dropping the jar could be a not so fun experience.


Add more food coloring if you need. Pour the colored rice on the covered cookie sheet. Spread it around with a spoon to get a thin layer (which will dry faster.) Put the sheet of rice in the over for about 15 minutes to dry. Check it and put it back in for 5-10 minutes if need be until the rice is dry.

Once the rice is dried and cooled, I spooned some of it into smaller mason jars for safe keeping because I know I will vacuum up most of the rice soon.


Repeat this for every color you want.

My fave color:


I put the rest in a plastic tub for the boys to play with. Add in spoons, cups, siphons, animals, trucks, cars, bugs, and more for some fun sensory time! Encourage your child to fill cups, measure, level off, pour, hide animals, and more!


\


~~Enjoy!


LinkWithin

Related Posts with Thumbnails