
TAGGIES.
Boo, Hiss, MEOW! What are Taggies? Taggies is a company that makes tag blankets..you know those blankets our grandma's made? Well, they copyrighted it, as of course they have every right to do so. I most certainly do not begrudge anyone their right to the almighty dollar and I am a big fan of capitalism. But the copyrights these owners have on Taggies is INSANE. They want to copyright EVERY blanket with four sides and looped ribbons. They even want to copyright pretty much any fabric with looped ribbons inside. I have had EVERY ITEM I made with looped ribbons pulled off Etsy, Artfire, and other venues because of the lawyers for the Taggie company. Do they have the right to do so, Sure. Do I have to like it? NOPE.
So here you go my friends, since they say I can't sell any blankets with tags in them (which by the way Mrs. Taggies, you should probably call up WAL-MART because they sell tag blankets too. Oh wait, you only go after small time moms at home.) Anyways, since I can't sell mine...I'll share with you how to MAKE your own.
MATERIALS:
Two fabrics (I used Flannel and Minky)
Ribbons to coordinate or contrast your fabrics
Scissors
Cutting Mat or Surface
Thread
Lighter/Flame/Candle

Step One:
Choose the size of your blanket. You may want a large blanket or just a small lovey. Whatever size you choose, put your fabrics right sides together and cut them the SAME size/shape.

Step Two:
Gather your ribbons. The type is up to you, grosgrain, satin, solids,etc.

Step Three:
Cut your ribbons to approximately 4-5 inches long.

Step Four:
I like to then lay out my ribbons to see where I want to place them along the edges of the blanket. Rearrange them to your liking.

Step Five:
Now take your ribbon and FOLD it (not making a hard crease, just a gentle fold) with the pattern on the OUTSIDE where it's visible.

Step Six:
Now take the RAW EDGE of your ribbon and insert your ribbon (Still folded) in between the fabric while it's right sides together.

Now your raw edge of the ribbon and the raw edge of the fabrics LINE UP. Pin to keep it straight.

Step Seven:
Now continue this all the way around the edges of the blanket, using the pattern you wanted for the ribbon placement.

Step Eight:
Now head to your sewing machine! You will choose a starting point on your blanket, and remember that you are TURNING and TOP STITCHING this blanket, so you'll be leaving an opening large enough to turn the fabrics right side out. Where you start/finish your opening is up to you.

I prefer a walking foot because I am using minky. But you can use a regular foot, particularly if you are using cottons/flannels, etc. If using stretchy fabrics you should use a ballpoint or Microtex needle.
Step Nine:
Sew along the edge of the blanket in a straight stitch, turning when you get to the corner. You should stop roughly 2 inches from your starting point so you have room to turn the blanket.
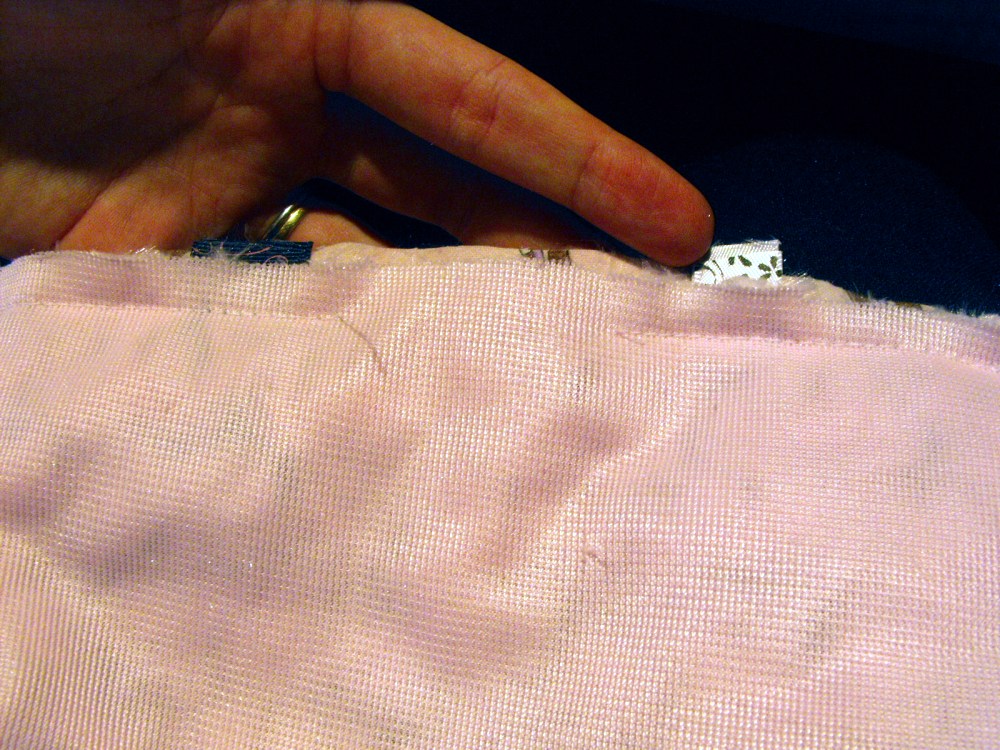
Step Ten:
Now you'll need to turn your blanket right side out.

Step Eleven:
Once your blanket is turned right side out, gently tug on all your ribbons to assure they are secure. This also helps gently pull the seams straight. You can iron your blanket at this point, although I did not iron this blanket because you should NOT iron minky.
Once your blanket is smooth, head back to the sewing machine to sew your top stitching.

Step Twelve:
Continue straight stitching (or zigzag, or even decorative stitch if you wish) all the way around the edge of the blanket, making sure you go over the opening you turned your blanket in. If you used a walking foot, you'll need to use a regular foot to backstitch your seams because you should not backstitch with a walking foot.
VIOLA! You have a beautiful taggy blanket!

Step Thirteen:
Now for the clincher....The Taggies company will hunt you down if you SELL a blanket like this. BUT last I checked, their patent does NOT cover if the ribbons are not looped. And quite honestly for my own protection, I'd prefer not to sell a blanket with looped ribbons anyway due to the risk of babies fingers getting stuck in them.
So what to do, what to do? EASY. CUT the loop on the ribbon and HEAT SEAL the edges!!


Feel free to ask any questions and share this tutorial, but please give me a link back! :) Check out my other tutorials in the left hand side bar!
Enjoy!


